Are you looking to streamline your browsing experience with FoxyProxy? Wondering how to configure it across various browsers? This comprehensive guide provides you with the insights and step-by-step instructions to effectively use FoxyProxy to bypass restrictions and enhance your web access.
Web browsers are the primary tools for internet access, with Google Chrome leading the pack, boasting a market share of 65.8% according to StatCounter. Other browsers like Edge and Firefox also hold significant portions of the market. This widespread use underscores the reliance on browsers to access information, communicate, and entertain. However, not all content is freely accessible due to geographical restrictions or security measures, necessitating the use of proxy services. Proxy providers often offer their solutions via browser extensions, making them readily accessible. This guide focuses specifically on using the FoxyProxy extension to overcome such access barriers.
Understanding Proxies: Your Gateway to Unrestricted Browsing
Every computer or device is assigned an IP address, which is analogous to a residential address. This address is unique and helps in identifying the device on a network. Some websites restrict access based on geographic location or other criteria, making them inaccessible from certain regions. Here, proxies play a crucial role. Acting as intermediaries, proxies relay requests from users to servers, masking the users’ original IP addresses and thereby anonymizing their identities. This function not only facilitates access to restricted sites but also shields private networks from potential cyber threats.
Harnessing FoxyProxy for Seamless Internet Access
FoxyProxy is a robust tool that enables users to integrate proxy servers into their web browsers, including popular ones like Google Chrome and Mozilla Firefox. This tool automates the proxy configuration process, making it simple for users to set up and switch between proxies as needed. Whether you’re looking to bypass geo-blocks, access region-locked content, or secure your browsing activities, FoxyProxy provides a reliable solution.
How to Configure FoxyProxy in Firefox Using OneProxy
Setting up FoxyProxy in Firefox allows you to navigate the internet more freely, overcoming geographical restrictions and accessing content from various regions. Here’s a detailed guide on how to configure FoxyProxy in Firefox with OneProxy services:
- Opening Firefox: Launch the Firefox browser. If you don’t have Firefox installed, download and install it from the official website.
- Installing FoxyProxy: Go to the Firefox Add-ons page and search for “FoxyProxy Standard”. You can access this directly here. Click “Add to Firefox” to install the extension.
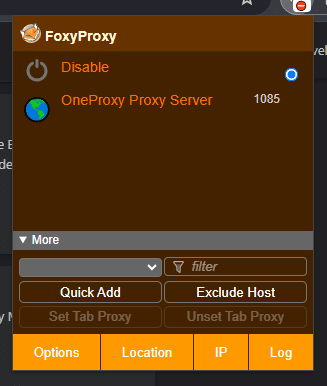
- Configuration: After installation, a notification will confirm that FoxyProxy has been added. Click “OK” on this pop-up. You’ll see the FoxyProxy icon on the right side of the browser toolbar. Click this icon, then select “Options” from the dropdown menu.
- Adding a New Proxy:
- Click “Add” on the left panel of the FoxyProxy options window.
- In the “Add Proxy” tab, enter a title for your proxy setup for easy identification.
- From the proxy type dropdown menu, select HTTP, SOCKS4, or SOCKS5, depending on your requirements.
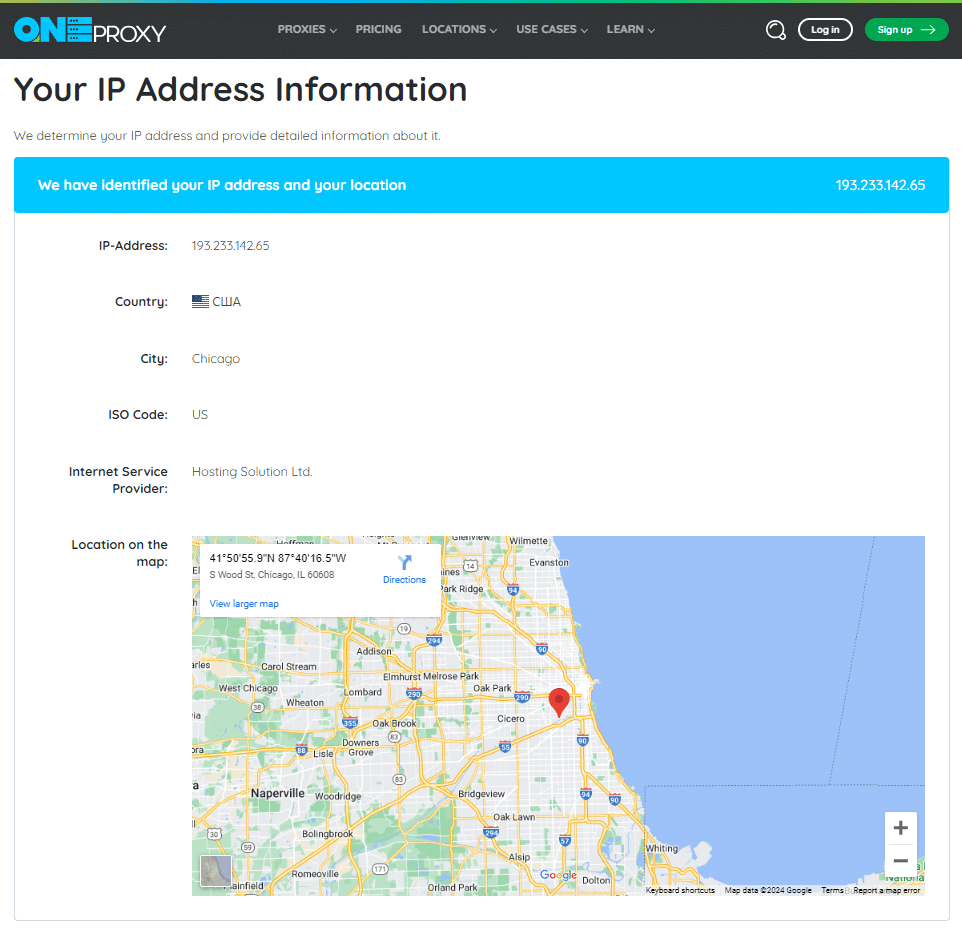
- Enter the IP Address and port number provided by OneProxy. For instance, if you’re using a specific OneProxy IP such as “193.233.142.65” with port “1085”, input these details accordingly.
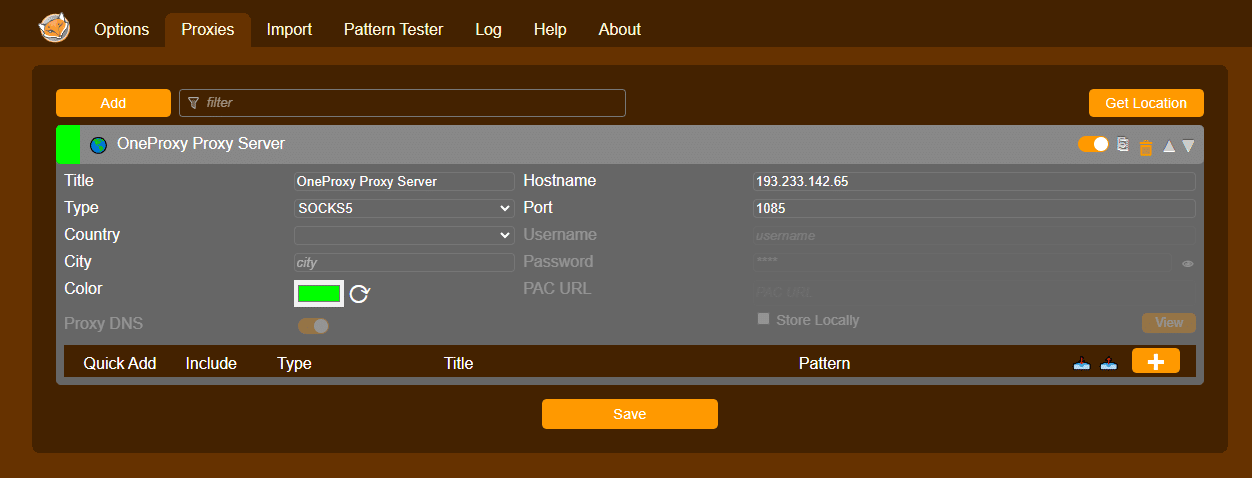
- Saving the Proxy Setup: Click “Save” to store your proxy configuration. The newly added proxy will appear with options such as “On”, “Edit”, and “Patterns” for further customization, like setting specific URL patterns if needed.
- Enabling the Proxy: Activate your proxy by selecting it from the dropdown list in the FoxyProxy icon menu. This sets the proxy to handle all your browser requests.
- Testing the Proxy:
- Visit the “What is My IP Address” page to check whether your IP address reflects the proxy settings.
- Initially, the page might not display the actual IP address of your system, indicating that the proxy is functioning correctly.
- Disabling the Proxy: To revert to your original IP settings, click “Disable” or “Turn Off” from the FoxyProxy icon menu. Now, when you access the “What is My IP Address” page, your actual IP address should be visible, confirming that the proxy settings are disabled.
How to Use FoxyProxy in Chrome with OneProxy
For Chrome users, integrating FoxyProxy follows a similar process with slight variations specific to the Chrome environment:
- Opening Chrome: Start your Chrome browser, or install it if it’s not yet installed.
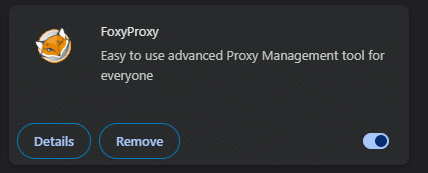
- Installing FoxyProxy: Navigate to the Chrome Web Store and search for “FoxyProxy Standard”. Click on the extension from the search results and then click “Add to Chrome”. Confirm by selecting “Add extension”.
- Configuring the Proxy:
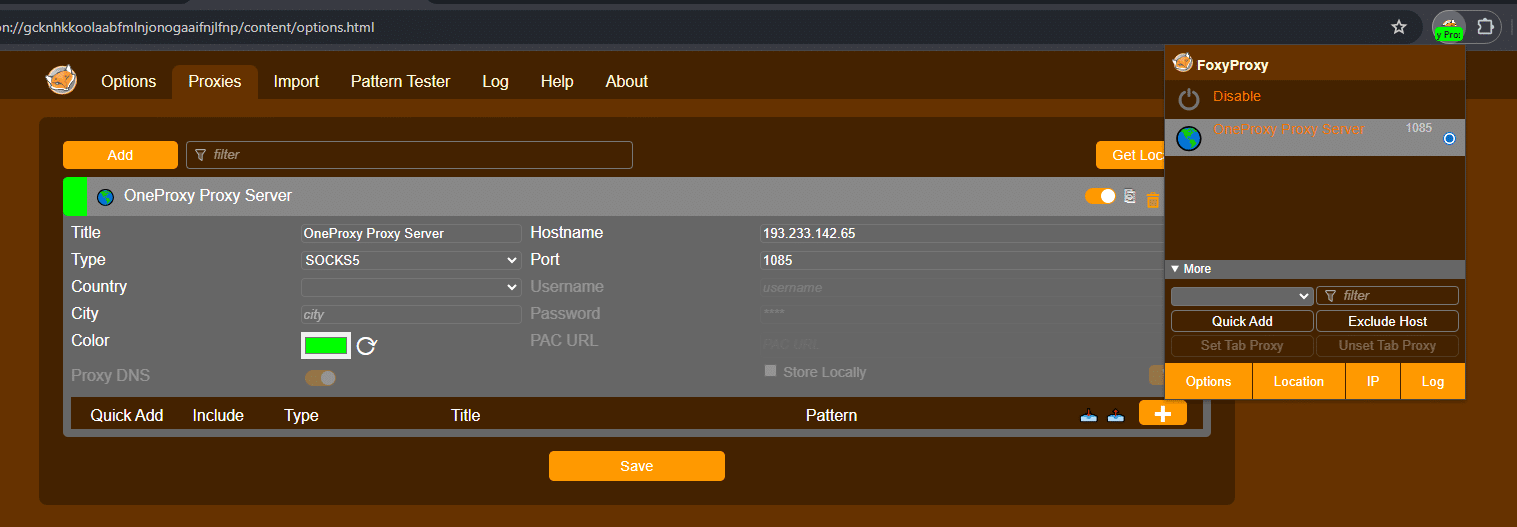
- Once added, click the FoxyProxy extension icon located on the toolbar. Choose “Options”.
- In the proxy settings, click “Add new proxy”.
- Fill in the manual configuration by providing the IP address and port number. Select your desired proxy type, such as SOCKS5 or SOCKS4, provided by OneProxy.

- Activating the Proxy: Save your settings and use the toolbar icon to enable the selected proxy. For comprehensive coverage, opt for “Use this proxy for all URLs”.
- Testing Your Connection:
- Check your IP address on the “What is My IP Address” page. The displayed address should not match your actual IP if the proxy is active.
- To deactivate, click “Disable FoxyProxy” from the extension menu. This will restore your original IP visibility on the “What is My IP Address” page.
Utilizing FoxyProxy with OneProxy’s Diverse Proxy Solutions
OneProxy offers a robust selection of both free and paid proxy servers globally, catering to diverse internet needs through dedicated and data center proxy services.
Dedicated Proxy
Also referred to as private proxies, dedicated proxies are exclusively used by a single user. Ideal for individuals or organizations that require a stable IP address for extended periods, these proxies ensure privacy and consistent performance. Users can select a dedicated proxy plan that best fits their requirements, whether for business or personal use.
Premium Datacenter Proxy
OneProxy’s premium data center proxies are designed for speed and reliability, making them suitable for high-demand internet activities. These proxies offer:
- Access to over 100,000 HTTP and SOCKS5 data center proxies.
- Unlimited bandwidth to support extensive data transfer without throttling.
- The ability to handle unlimited concurrent connections, facilitating large-scale operations.
- Competitive pricing for various premium proxy plans.
These features make OneProxy’s data center proxies an excellent choice for users needing robust and scalable internet access solutions.
Free Proxies
OneProxy also provides free proxies that include HTTP, SOCKS4, and SOCKS5 types, catering to casual users who need basic proxy services. To access these free proxies, visit OneProxy’s website and navigate to the free proxy section. Here, users can select proxies from any country and download a list of currently available free proxies. This feature is particularly useful for individuals experimenting with proxies or requiring temporary solutions for bypassing geo-restrictions.
By following these steps, you can effectively leverage FoxyProxy in conjunction with OneProxy’s diverse offerings to bypass internet restrictions, enhance security, or manage multiple digital identities. Whether you’re a casual user or a tech-savvy professional, OneProxy and FoxyProxy together provide a powerful toolset for sophisticated web browsing.


